The trip starts in the driveway. Anyone who has watched a kayak lift off a roof at highway speed, or seen the aftermath on the shoulder, knows that getting the boat to the put-in is the single most consequential thing you'll do all day. It is also the part most new paddlers get wrong, because the gear industry is happy to sell you a rack and stay quiet about the details that actually keep a hull tied down.
This guide is the version we wish every first-time kayak owner had read before their first trip. It covers what to put on the roof, how to strap the boat down, and the small habits that separate paddlers who never lose a boat from those who tell one very expensive story.
Pick a Carrier That Matches Your Car and Your Boat
There is no single "best" kayak carrier, and anyone who tells you otherwise is selling one. The right setup depends on three variables: what your vehicle already has on the roof, how heavy your boat is, and how often you paddle.
Most paddlers land in one of four categories:
- Factory crossbars with saddles or J-cradles. If your car came with roof rails, aftermarket saddles or J-cradles bolt onto the crossbars and hold the boat securely. J-cradles carry the hull on its side, which frees roof space for a second kayak or a cargo box.
- Aftermarket crossbar systems (Yakima, Thule, Rhino-Rack, and similar). If your roof is bare, a proper crossbar kit (towers, bars, and vehicle-specific fit clips), is the single best investment a serious paddler makes. It is not cheap, but it lasts decades and moves between vehicles.
- Foam block carriers. Two dense foam blocks that sit directly on the roof with the boat on top, tied down through the open doors. Cheap, portable, and legitimately fine for short, low-speed trips with a light recreational kayak. Not appropriate for freeway distances or heavy touring boats.
- Inflatable roof racks. Effectively an upscale foam block. Better than nothing, worse than crossbars. Same limitations.
When a Trailer Makes More Sense Than a Roof Rack
If you paddle a tandem, a sit-on-top fishing kayak over 80 pounds, or you carry two or more boats regularly, a small utility trailer starts to look reasonable. Lifting a heavy plastic sit-on-top overhead is how paddlers wreck their backs and dent their cars. A trailer means loading at waist height, faster turnaround at the ramp, and no risk to the roofline. The tradeoff is storage, registration in many states (check your state DMV), and a slower, wider vehicle in traffic.
For a single recreational or touring kayak under about 60 pounds, a roof rack wins on every axis. For anything heavier or plural, at least price out a trailer before you buy another set of J-cradles.
Load the Boat Without Wrecking Your Roof or Your Back
Loading is where most damage happens: to the boat, the car, and the paddler's shoulder. A few habits fix nearly all of it.
Lift with a partner whenever possible. Two people, one at each end, walk the boat alongside the car and set it on the rack in a single motion. If you routinely paddle solo, invest in a rear roller or a lift-assist bar. These attach to one crossbar and let you rest the bow on the roller, then walk the stern up and over. They are worth every dollar the first time you use one at the end of a long day.
Position the boat with the cockpit facing up and the bow forward. On saddles, the hull sits flat; on J-cradles, it lays on its side. Center the boat left-to-right on the rack, and slide it fore-and-aft so the crossbars contact the strongest part of the hull, generally the bulkhead areas on a touring kayak, or the middle third on a recreational boat. Never rest a hull on the seat or the cockpit rim.
If you own a composite (fiberglass, Kevlar, or carbon) kayak, the loading calculus changes. Composite hulls deform under sustained pressure and heat. Use cradles that support the hull's shape, not J-cradles that hang it off one gunwale, and avoid overtightening straps, the cause of the most common composite damage we see.
Strap It Down Right: Cam Straps, Bow and Stern Lines
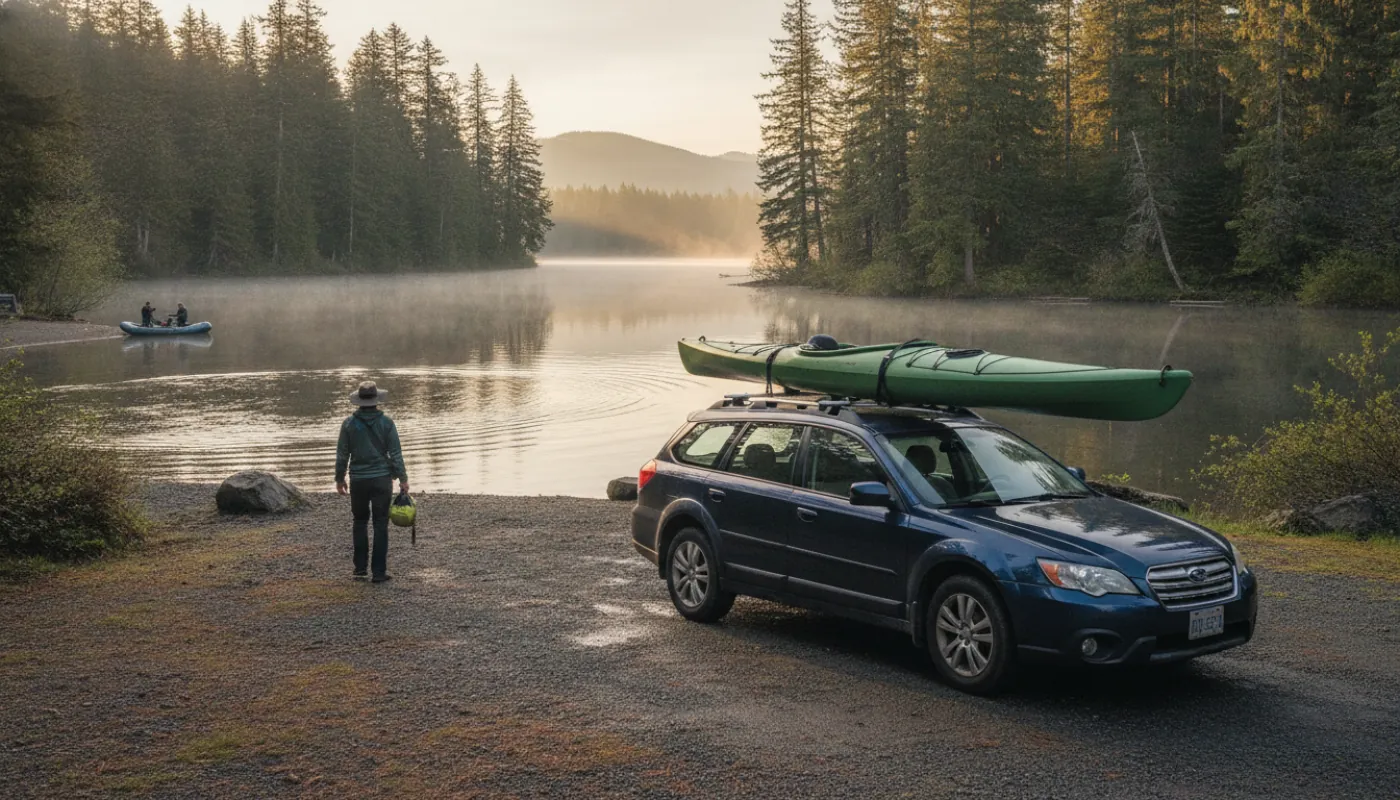
This is the section that matters most, and the section most guides skim. A kayak on a roof is a wing. At 65 mph, air pressure pulls up on the hull with real force. Your straps are the only thing keeping it there.
Use Cam Straps, Not Ratchets
Cam-buckle straps, the polyester webbing straps with a spring-loaded cam, are the paddling standard for one reason: they cannot be overtightened. A ratchet strap can generate enough force to crush a plastic hull or crack a composite one, and inexperienced paddlers routinely do exactly that. Cams tighten only as hard as you can pull the webbing by hand, which is exactly the right amount.
Two cam straps (typically 12–15 ft, longer if you have a tall vehicle or J-cradles), one over each crossbar, is the baseline. Buy quality webbing; the cheap pair at the hardware store frays and slips.
The Bow and Stern Line Debate
Nearly every rack manufacturer and paddling instructor recommends bow and stern lines, separate ropes running from the ends of the kayak down to the vehicle's tow points or hood loops. The reason is simple: if a crossbar strap fails or the rack itself lets go, the bow and stern lines are what keep your kayak from launching into the car behind you.
Some experienced paddlers running premium crossbars on short trips skip them. That is their call to make. For anyone new to car-topping, and for any trip on the freeway or in wind, tie the bow and stern. Use non-stretch line (not bungee), and just barely snug, enough to catch the boat if something fails, not so tight that you preload the hull. Hood loop anchors, installed under the hood in five minutes, give you clean tie points on vehicles without a tow hook.
The Strap Pattern That Works
A reliable pattern for a single kayak:
- Center the boat on the rack.
- Throw one cam strap over the hull at each crossbar. The buckle should end up on the side of the boat, not on the hull's top or bottom.
- Run the strap under the crossbar (not around it: under it, so the strap loops the bar), back up over the boat, and feed through the cam.
- Pull firm by hand. The hull should not shift when you push the bow side-to-side. It should not creak or deform.
- Twist the free-hanging strap tails several times before tying them off. Untwisted webbing on the freeway makes a whining, resonant howl that will drive you insane by mile 20.
- Tie bow and stern lines to the boat's carry toggles and to the vehicle's front and rear anchor points.
- Push the boat hard from every direction. If anything moves, retighten.
The Highway Check and What to Watch For
Even a perfectly loaded kayak needs a check ten minutes into the drive. Straps settle, webbing stretches slightly, and knots seat themselves. Pull off at the first safe exit, put a hand on each strap, and retension anything that has gone slack. Do it again at the first rest stop. After that, an occasional glance in the mirror is enough.
Watch for three things on the road:
| Signal | What It Means | What to Do |
|---|---|---|
| Straps humming or vibrating | Untwisted webbing resonating in the wind | Pull off, add twists to the free tails |
| Bow bobbing up and down | Bow line too loose or crossbars too close together | Pull off, retension bow line; on next trip, spread the bars if possible |
| Boat sliding fore or aft under braking | Straps not tight enough over the crossbars | Pull off immediately, retighten |
Crosswinds and passing semi-trucks are the two forces most likely to expose a marginal tie-down. If your setup feels sketchy at 55, do not take it onto the interstate. Fix it in the parking lot.
Foam Blocks, Rentals, and the Occasional-Paddler Reality
Not everyone paddles enough to justify a $600 rack system. If you rent a boat twice a summer and drive it 15 minutes to a local lake, foam blocks tied through your car's open doors will get you there, provided you follow the rules that make that method safe.
- Use blocks sized to your hull shape, not generic ones.
- Run two straps through the interior of the car (over the boat, in one open door, out the other), not around the roof.
- Add bow and stern lines. Without crossbars, these are not optional, they are the primary security.
- Keep speeds modest, many foam-block manufacturers advise staying off the interstate entirely.
- Never leave the boat unattended on a foam-block setup. Wind gusts in a parking lot are enough to move it.
Many liveries and outfitters will loan or rent basic foam kits with a boat rental. If you're new to paddling and want to know whether the sport sticks before you invest in racks, that's a reasonable path. When you're ready to commit, a proper crossbar setup is the upgrade that unlocks the rest of the sport: longer drives, weekend trips, and the confidence to leave the boat on the car overnight at a trailhead.
Before You Pull Out of the Driveway
A short pre-trip checklist, borrowed from paddling instructors who've seen every failure mode:
- Boat centered left-to-right on the rack
- Cam straps over each crossbar, buckles on the side of the hull
- Straps snug, hull does not shift when pushed
- Strap tails twisted or tied off, not flapping
- Bow and stern lines attached and just snug
- Paddles, PFDs, and gear stowed inside the vehicle, not loose on the roof
- Ten-minute check planned for early in the drive
Getting the boat to the water safely is a skill like any other in paddling: repeatable, teachable, and worth doing right every time. Once you've done it a dozen times, it takes about four minutes.
Ready to find your next put-in? Browse places to paddle by state, or if you run a livery, guiding operation, or paddling school and want to reach paddlers planning their trips, list your operation on Paddling Hubs.