The jump from flatwater to whitewater is one of the biggest milestones in a paddler's journey. Class II and III rivers offer the perfect introduction, fast enough to be exciting, controlled enough to recover from mistakes. Moving water rewards preparation and punishes complacency in ways still water doesn't. Hypothermia, cold-water shock, and disorientation are real risks in the wrong season. This guide covers the skills, gear, and river judgment that separate an enjoyable first whitewater run from a rescue situation. Whether you're in a kayak or canoe, the fundamentals are the same: read the current before you're in it, wear the right kit, and practice the moves that save you when the river surprises you.
Understanding River Classifications
The International Scale of River Difficulty uses Classes I through VI to rate whitewater. Class II and III sit in the sweet spot for paddlers transitioning from flatwater, challenging enough to teach you something meaningful, but not so violent that one mistake ends in a swim you can't manage.
| Class | Level | What to expect |
|---|---|---|
| I | Easy | Fast-moving water with riffles and small waves; few obstructions, low risk |
| II | Novice | Straightforward rapids with wide, clear channels; occasional maneuvering around rocks |
| III | Intermediate | Moderate, irregular waves and tighter passages; active maneuvering and scouting, a reliable brace |
| IV | Advanced | Powerful, turbulent rapids demanding fast, precise handling; a dependable roll strongly recommended |
| V | Expert | Long, violent rapids with serious consequences; a reliable roll and rescue skills essential |
| VI | Extreme | Rarely attempted; errors are often severe or fatal |
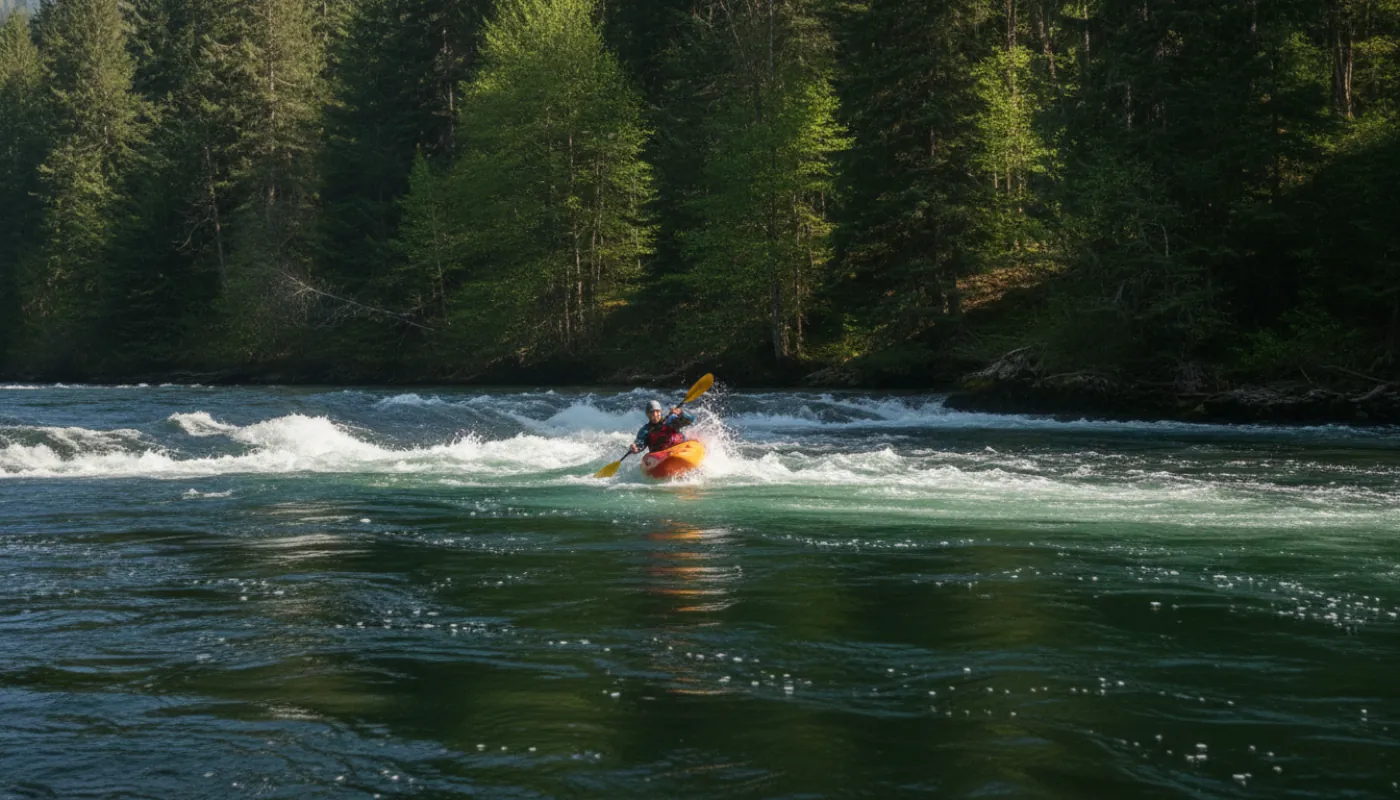
Class II rivers have small waves, manageable drops, and clear lines through obstacles. The current accelerates noticeably, which feels fast (and it is), but the consequences of a flip are survivable: you'll be flushed downstream some distance, how far depends on the rapid's length and gradient, before washing out into slower water. Most Class II rapids can be "walked" on the bank, if you can trace a path a kayak might take, your eye is calibrated correctly. The actual threats in cold water are hypothermia and panic, not the river itself trying to trap you.
Class III introduces steeper drops, bigger holes (the churning water behind a ledge or rock), and tighter slots between hazards. Some rapids cannot be safely scouted from the bank; you have to commit to a line. The margin for error shrinks: straying into a hole or ledge on the wrong side can cost you your boat, and recovery time is measured in seconds. A solid brace or roll becomes mandatory; a swim means immediate action from your paddling partners.
Neither class requires a paddling certification or license, but many popular runs on public land do require a river-use or launch permit: always check with the managing agency (NPS, BLM, USFS, or the state park) before you go. Paddling law otherwise focuses on Coast Guard-approved personal flotation devices and local access rules, not river-specific credentials. But the gap between "I've paddled lakes" and "I've paddled Class III" is exactly where overconfidence leads to rescues. Talk to local paddlers, outfitters, or paddling clubs about what "Class III" means on your intended river; ratings vary by season and water level.
Essential Gear for Your First Run
A Class II-III run is not a lake paddle. Your gear does work your body cannot.
A personal flotation device (PFD) is non-negotiable, U.S. Coast Guard regulations require one on every vessel, and in whitewater, it is your lifeline if you lose the boat. Buy or rent a Type III inherently buoyant paddling PFD, or a Type V rescue vest with inherent (foam) buoyancy, not a recreational life jacket, and never an inflatable PFD, which is not rated for whitewater. Paddling PFDs have cutouts for arm mobility and a snug fit to keep you in the vest if you flip. Check the fit with the shoulder-strap test: have someone pull up on the shoulder straps, and if the vest rides up over your chin or ears, it's too loose. A well-fitted PFD feels snug; that is correct.
A whitewater helmet is not optional. It protects your head from rock impacts and low-hanging branches, the two things that kill paddlers. Yes, it messes up your hair. Wear it anyway. Helmets rated for water sports have drainage holes and an open face.
Your paddle is typically shorter and stiffer than a flatwater paddle to handle power strokes in current, though the right length depends on your height, boat width, and paddling style. Check an outfitter or a sizing chart. A shorter blade makes bracing faster and reduces fatigue.
Your boat matters. A touring kayak will float, but a whitewater kayak (typically 6–9 feet depending on style, rockered, with a high-volume cockpit) is more responsive. Prioritize good egress: you must exit quickly if you flip. A wide, open cockpit lets you wriggle free under water. Narrow sea-kayak cockpits are harder to exit. A spray skirt (the neoprene sleeve that seals the cockpit) keeps waves out but makes egress slower. On Class II, many paddlers skip it; on Class III, wear it and practice exiting with it on in flatwater first.
The Skills You Must Practice First
Four things should be reflexive before you meet the shuttle at the put-in.
Bracing is your first line of defense against tipping. A low brace (paddle blade horizontal, power face up, pushing down and aft) stabilizes a sideways tilt. A high brace (blade held high, power face down, pulling aft) is faster but riskier. Practice both on flatwater until you throw them without thinking, you won't have time to decide on the river. A brace buys you seconds to recover your balance. Most paddlers who flip on Class II did not brace; they stiffened their upper body instead of using the paddle.
Rolling is the next tier: if you flip, can you right yourself without exiting the boat? A successful combat roll keeps you warm, keeps your boat, and keeps you in control. Rolling takes dozens of practice attempts; if you cannot roll yet, learn a solid wet exit and re-entry. Wet-exit means staying calm, pushing out of the boat, holding onto it, and floating downriver on your PFD until your paddling partners help you collect in an eddy.
Reading current separates competent paddlers from tourists who get flushed downriver. Faster water is usually shallower and appears lighter in color; obstacles create pillows (water bulging up) on the upstream side and holes on the downstream side. Eddies (calm circular current) behind rocks are safe zones where you pause and regroup. Before you paddle, spend 10 minutes on the bank tracing the line with your finger. Ask yourself: Where does the water accelerate? Where can I grab if I need an escape?
Scouting is not weakness, it is wisdom. Every experienced Class III paddler scouts some rapids. The willingness to stop, look, and decide not to run a section is the mark of a competent paddler.
Choosing and Scouting Your First River
Not all Class II-III rivers are created equal. Some have consistent, predictable rapids; others are narrow, rocky, and unforgiving. Your first run should have an organized shuttle system and a paddling community. Start with a guide, an outfitter, or an established paddling club, solo paddling on moving water is high-risk. If you flip and swim, you are responsible for your own rescue. A competent paddler in a stable kayak can assist or call for help. Never paddle alone; go in a group of three or more boats when you can, so one paddler can assist while another goes for aid.
Check Paddling Hubs to find organized paddling groups in your area, many regions have clubs that run regular trips and mentor newcomers on their home rivers. Ask them what gauge height is safe for beginners and what season is best. Water level and season matter enormously. Cold water below 60°F causes cold-water shock and accelerates hypothermia; spring snowmelt can turn a mellow Class II into a moody Class III in one day. Summer heat plus warm water can be paradoxically risky: high temperature means lower water level, rocks appear, and people get cocky.
Check the USGS river gauge for your intended run before you load the car. Search "[river name] USGS gauge" to pull up the current flow rate, water temperature, and trend. Many outfitters publish a gauge height they consider safe for beginners. A river that is runnable in spring might be dangerous in summer or impassable in winter. Never run a river in darkness, in flood, or when you are tired.
Before You Paddle: The Pre-Run Checklist
The morning of your run, do three things before you step into the boat.
Check the weather and water one more time. A thunderstorm upstream can spike flows in minutes. A cold front can lower air temperature by 20 degrees overnight. Load the USGS gauge again. If levels have jumped since yesterday or the forecast has shifted, call an outfitter or club member who runs that section, do not assume yesterday's information is good today.
Tell a non-paddling friend where you are going. Leave a trip plan with someone who will not be paddling: put-in location, take-out location, expected arrival time, and your paddling group members' phone numbers. Not a group chat, a single person who can call for help if you are overdue. Include the river name and the section you are running.
Fit your gear snugly and test it on flat water first. Tighten your PFD waist strap; a loose vest will ride up if you flip. Test your helmet fit, it should not slide forward when you nod. Make sure your boat seat is snug and your footrest is set to your leg length. If you are wearing a spray skirt, practice exiting with it on in calm water. Spend five minutes getting comfortable; it is five minutes you will not waste mid-rapid fumbling with gear.
Once you are on the water, trust your practice. If a rapid looks meaner than you expected, scout it or portage around it, carry your boat to the bank and walk past the section. Class II and III will always be there tomorrow if you need another shot. The river does not award points for bravery, and no rapid is worth a rescue.